Google released the Android 8.0 update for all supported Android devices and also launched Google Pixel 2 ships with Android 8.0. The update is available for all to download as fastboot flashable factory images, but there’s no sign of Android Orio OTA updates yet. But if you are a developer, you can install a beta version of any Android OS before the official release. But for that, you have to Root your Android device. Now, what is rooting?
WHAT’S ROOTING?
Rooting means getting superuser permissions to your Android Device. With this superuser privileges, you can access all Android system files and folders. Also, you can install custom ROMs, enhance performance, increase battery life, and the ability to install Root applications. In other words, you will get instant access to the root directory of your android mobile.Root Android Without PC, it is like Jailbreak for Android.
Earlier, a Rooting process required some tools and complex procedure but now you can Root Any Android Phone within a minute, and that is without PC or Laptop.
The rooting procedure which I have given here doesn’t require PC or Laptop. All you need to do is download a simple Android App and follow mentioned steps. But there are some disadvantages of Rooting like warranty may get void.
See also: – Benefits of rooting Android phone or tablet [Advantages]
Also Read: – How To Unroot Your Aondroid Phone Or Tablet
HOW TO ROOT ANDROID WITHOUT COMPUTER PC?
Rooting voids warranty, but you can unroot your Android phone & restore to factory settings any time if you know what you do. Hope you have some insight into rooting & its background. There are so many Android Apps which are available on Google Play Store including FramaRoot, Universal Android Root, Towel origin, vRoot that allow users to Root Android Phone without P
Pros:
- Access all files Android Files and Folders
- Increase performance by over clockocking
- Increase battery time.
- Install custom ROMs
- Access Root Apps
- Increase RAM
Cons:
- Your phone might hard brick
- Data loss
- Warranty killed,
- Random reboot
- No More Privacy
> Check Out: How To Make a Keylogger Using Notepad?
Ok so if you have decided to Root your Android phone then fine. Below are some cool apps that you can use to Root your Phone. But before going to install them, you have to enable Unknown Sources from Settings > Security if it says Installation is blocked.
POING TO REMEMBER:
Before going to use these apps, first follow some basic steps:
- Always Take a Complete backup of your Android Phone.
- Battery Should be 60% or Above.
- Read all the steps first and then perform Rooting.
1. FRAMAROOT
FramaRoot is one of the best and popular App to Root Android device. FramaRoot is available on Google Play Store.
How to use the Framaroot app:
Step 1: Download Framaroot from here.

Step 2: Install it on your android phone > Open Framaroot app.
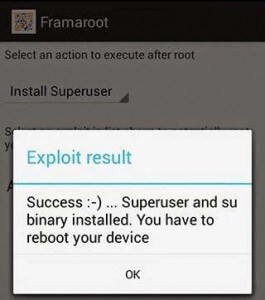
Step 3: Click install superuser and select any exploit.
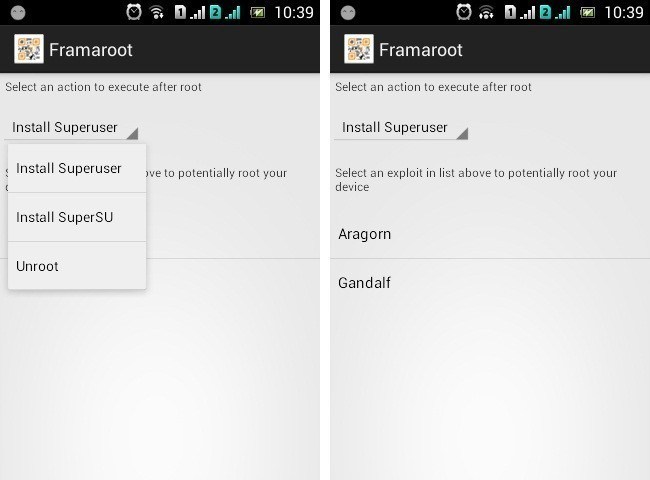
Step 4: You will see Success Message.
2. UNIVERSAL ANDROID ROOT
Universal Android Root is one of the simplest app to root android mobile safely. Steps to root the phone using Universal AndRoot:
Step 1: Download Universal Root.
Step 2: Install it > Open it.
Step 3: Click on Root to begin rooting process.
3. IROOT
iRoot is a Chinese app, and it is a simple app to Root your Android phone within a minute.
Step 1: Download iRoot from here.
Step 2: Install it and then Open iRoot app.

Step 3: Click on I Agree and then click on Root button.
Step 4: Wait for sometime, and it’s done.
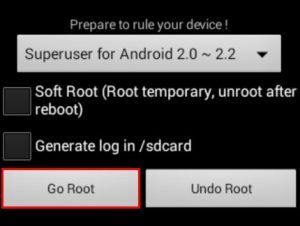
4. Z4ROOT
Z4Root is the oldest app to root android without a computer. Follow these steps:
Step 1: Download Z4Root apk file from here.
Step 2: Install it and open it from the app drawer
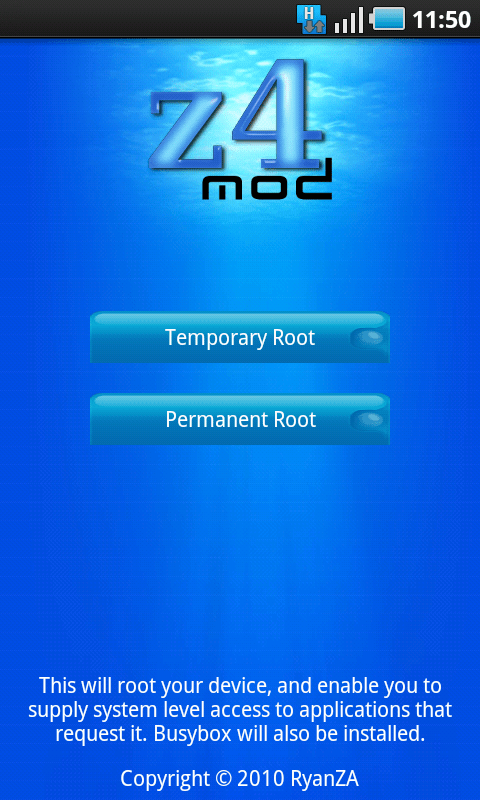
Step 3: Click on Root button.
Step 4: Wait for sometime and its done.
5. TOWEL ROOT
Towel Root is one of the lightweight Android App to Root Android devices easily.
Step 1: Download Towel Root app from here.
Step 2: Once you have downloaded, Install it and Open Towel Root.
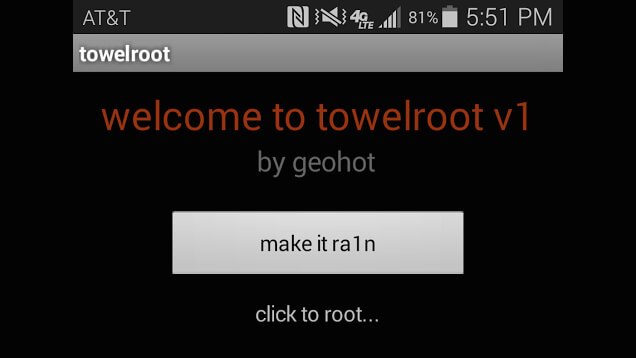
Step 3: Click on Make it Rain.
Step 4: Now, Just wait for sometime.
6. BAIDU ROOT
BaiduRoot is available for both PC and mobile to root android phone.
Step 1: Download Baidu Root
Step 2: Install APK > Open Baidu Root app
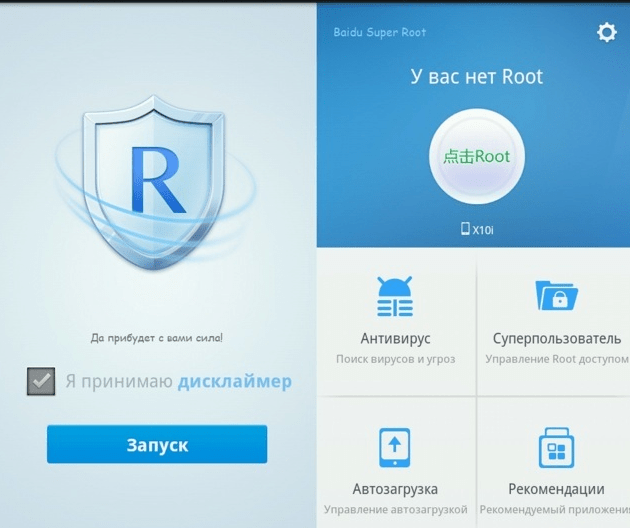
Step 3: Click on Root button and wait till it reaches to 100%.
Step 4: Restart your android phone.
7. ROOT MASTER
Step 1: Download Root Master app from here.
Step 2: Install APK > Open Root Master app
Step 3: Click on Tap to root.
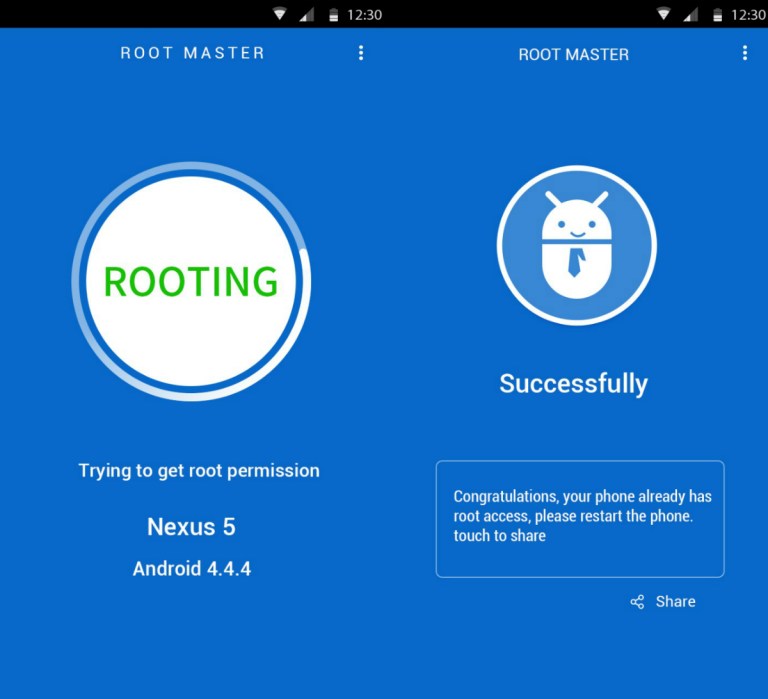
Step 4: Wait for sometime and its done.
8. KINGROOT

How to root Android Using Kingroot
- Download kingroot in your phone and open it
- Now click Green root Button
- Wait a minute for finish this process
- After finish, reboot your android and done
HOW TO CHECK IF YOUR PHONE IS ROOTED OR NOT?
There is an app called Root Checker that you can use to check if your Android Phone is rooted or Not.
Using root Checker App
Step 1: Download Root Checker App (link)
Step 2: Open it, & Click on Check Button
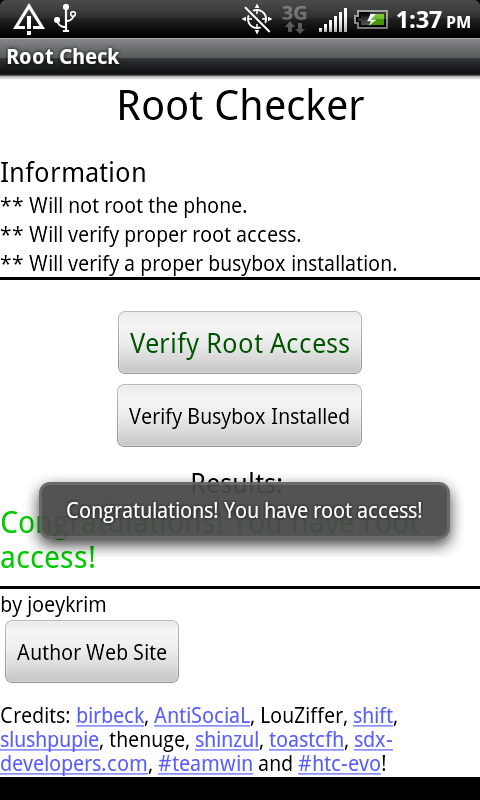
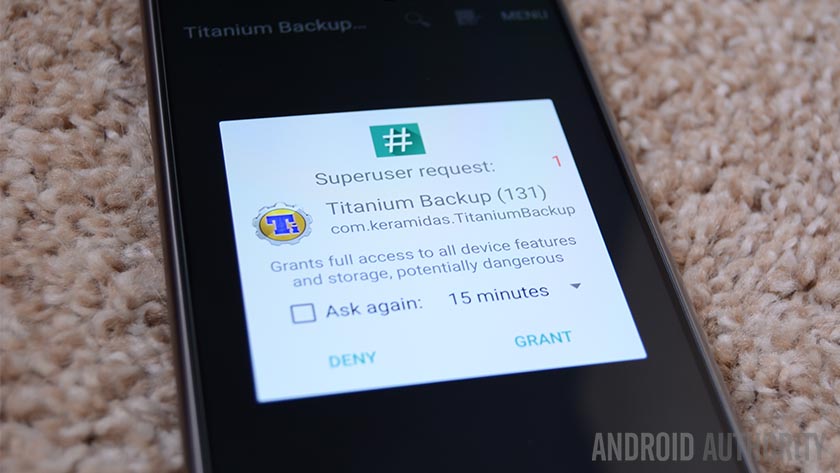
tep 3: When asked for permission, click on grant.
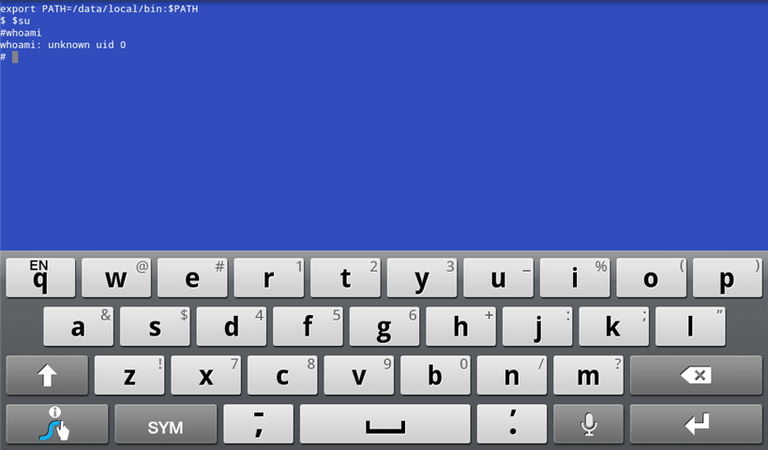
Check root Access With Terminal Emulator
Step 1: First Download Terminal Emulator From Here
Step 2: Install > Type su and press enter
Step 3: If there’s a pound sign (#) then your device is rooted.
The most recent version is now able to play most of the apps, including top 3D games. After the download completes, the same computer is currently prepared to share. All these things are vital if you need to continue to keep your PC free of threats from both the web and offline sources.
You may conduct a android backup. All you have to know is you can save full backups of your phone and restore it at any moment. In case you haven’t done so already go on and plug the USB drive into your system. You may be pretty impressed with the operation of your Android phone.
source/ tricksmaze.com
So, which APK rooted your android phone without a computer? We would love to hear about it in comments below. If you’re having any difficulty in any of the above methods, then feel free to comment below.

 Not using SuperSU? There’s a slight chance you might still be able to unroot your phone by taking advantage of a simple app. The only caveat is that these applications don’t seem to work well with every smartphone out there. It’s kind of a hit or miss.

![[SOLVED] FIX openload.co/pair or olpair.com Kodi Error](https://www.neoadviser.com/wp-content/uploads/2018/10/SOLVED-FIX-openload-co-pair-or-olpair.com-Kodi-Error.png)